|
|
Synths |
| Last Updated: | |
| Roland TR-606 (#2) Switchboard LED Replacement | |
 |
|
|
|
Synths |
| Last Updated: | |
| Roland TR-606 (#2) Switchboard LED Replacement | |
|
|
|
|
| TR-606 | TR-606 LED Switchboard | |
Roland TR-606 with Technology Transplant UV LED Switchboard LED
| Technology Transplant UV LED Switchboard for Roland TR-606 | ||
|
||
|
|
||
|
|
||
![]()
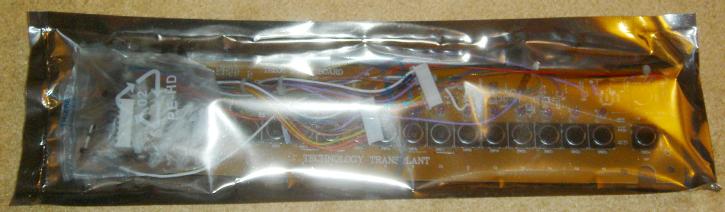
| The Package | |
| Here's how it looks like when it arrived: | |
|
|
|
|
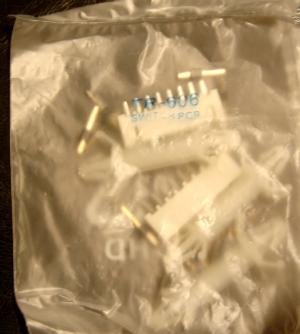
Other than the PCB, there is also a bag
containing: |
|
|
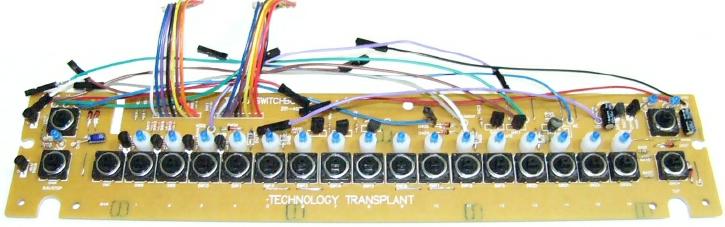
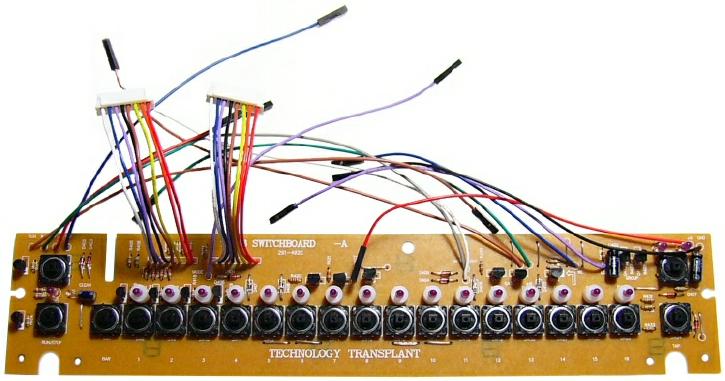
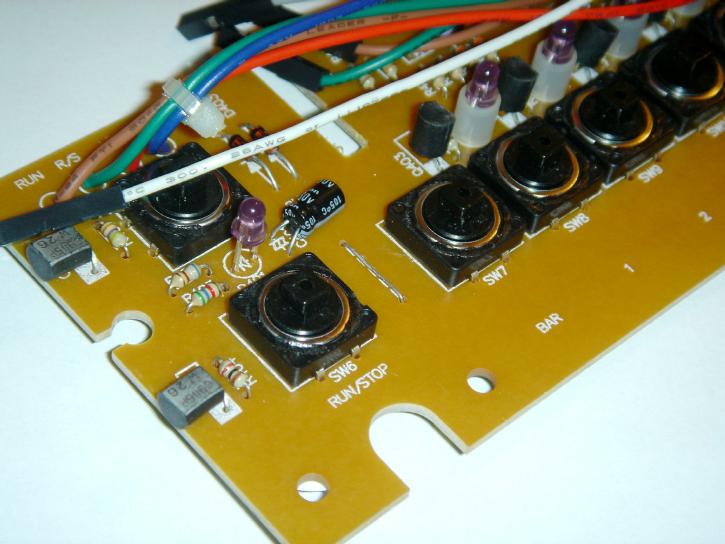
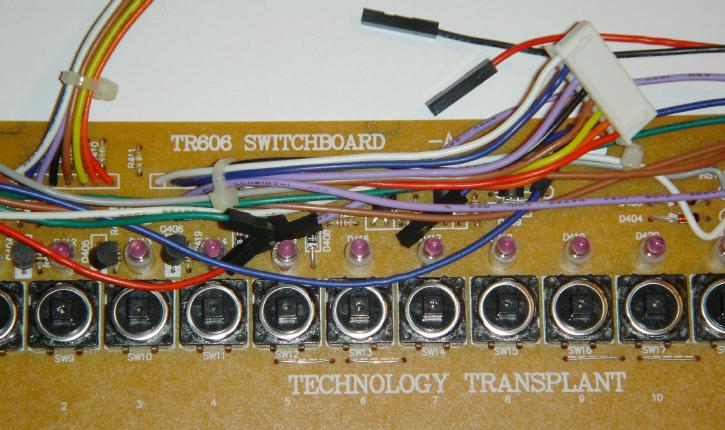
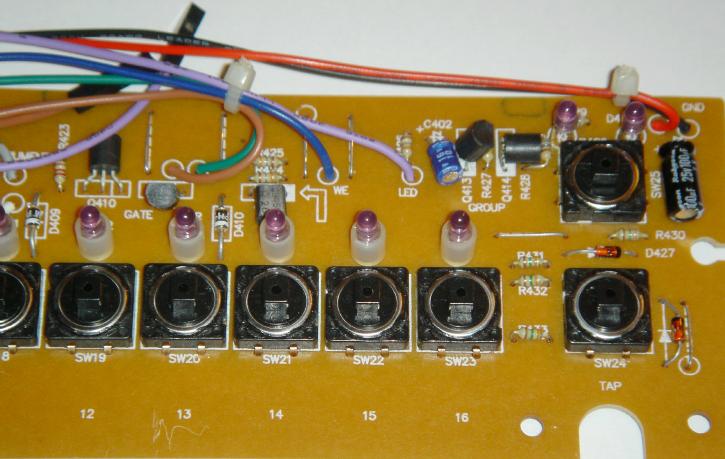
Close up look at the Switchboard PCB remake: |
|
|
|
|
|
|
|
|
|
|
|
As you can see, the wires are all done with connectors. |
|
![]()
|
INSTALLATION |
||||
| Note: The package doesn't contain any printed manual. Supposedly, Technology Transplant has a webpage with some instructions - but last time I checked, it was linked to a wrong Juno 106 page. | ||||
|
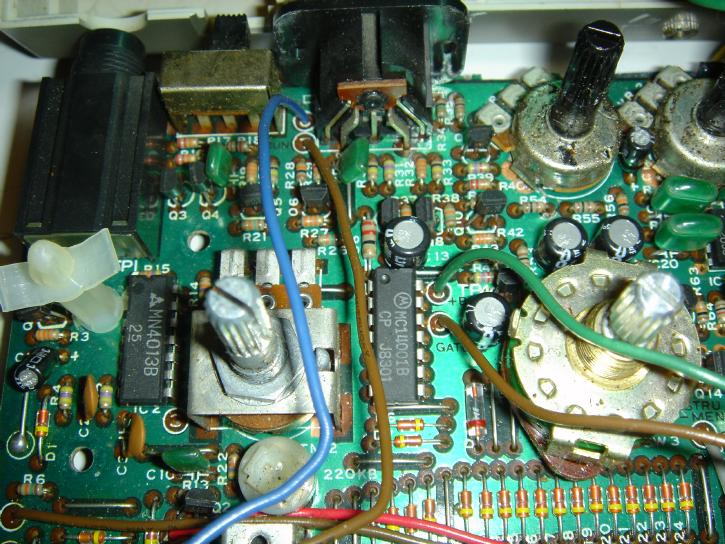
Installation is basically, a matter of removing the original connecting wires of the original Switchboard PCB, then solder the wiring pins and connectors, then plug in the new board. |
||||
|
Basically it's quite easy, but they don't provide a manual and u have to remember which wire goes to which. |
||||
|
For me, the easiest way was, I took photos of the original wiring, then remove each wire, solder in the pins, then connect to the new board referring to the photos. |
||||
|
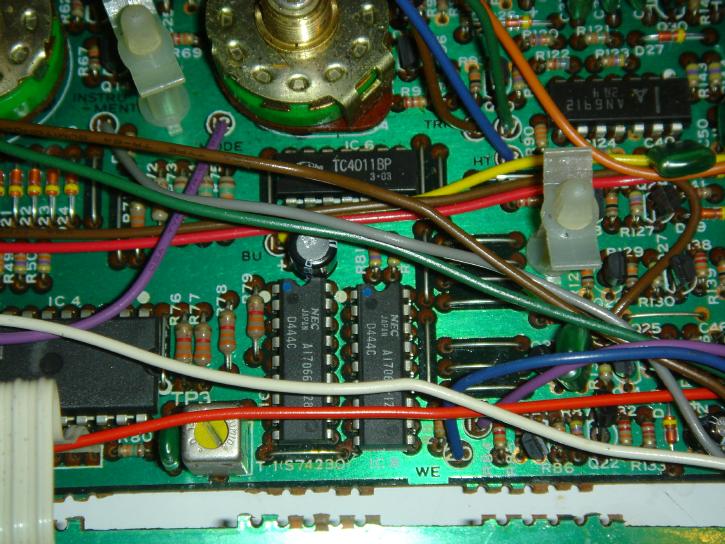
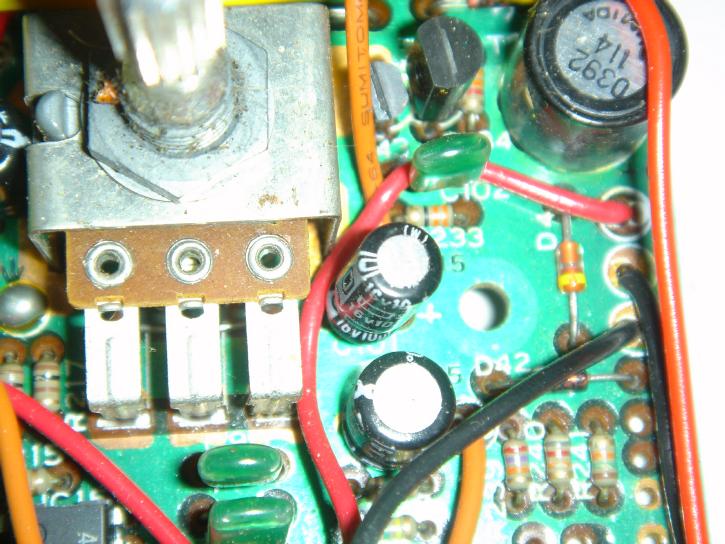
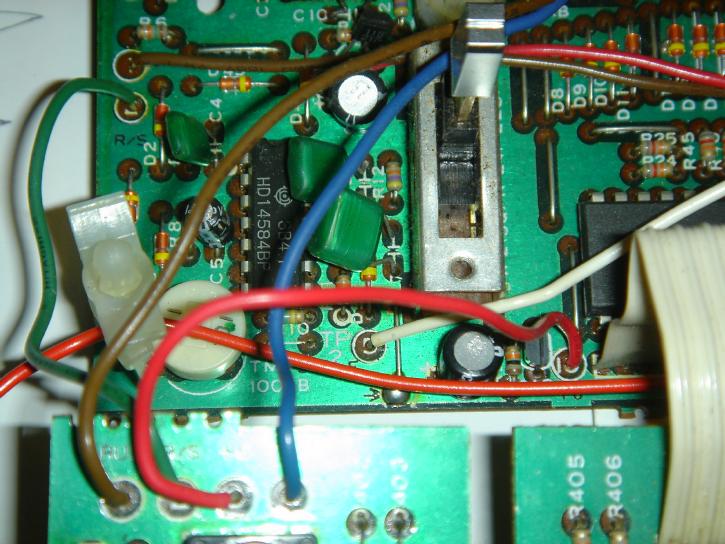
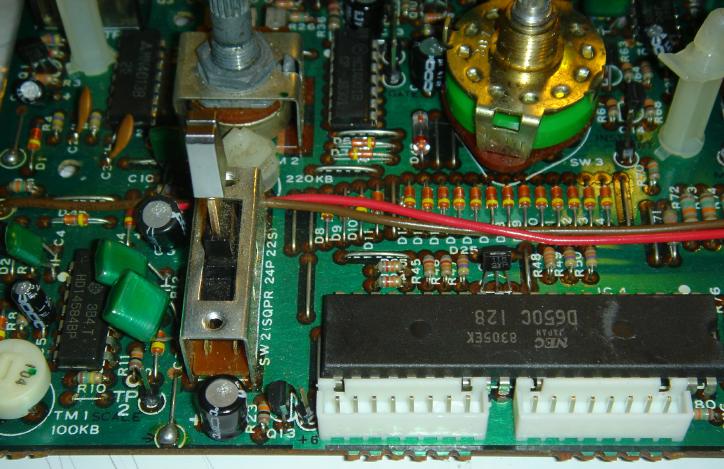
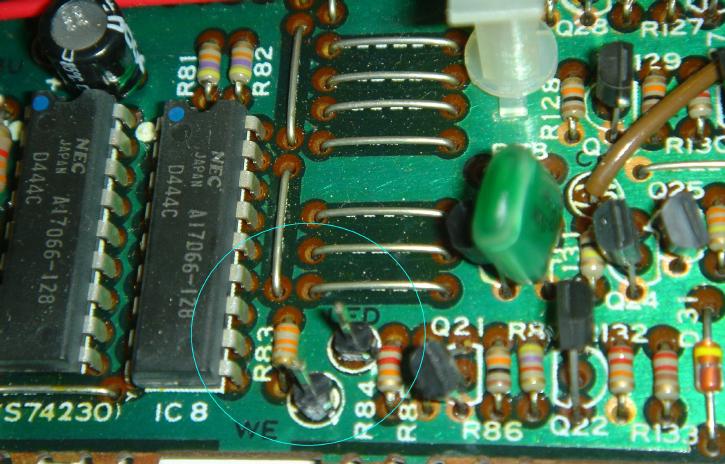
Original Wiring Locations: |
||||
|
|
|
|
|
|
|
[Click Images to Enlarge] |
||||
![]()
|
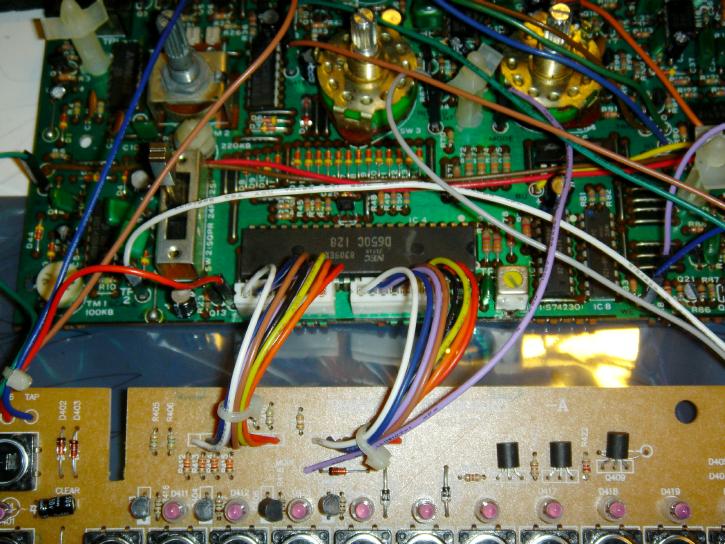
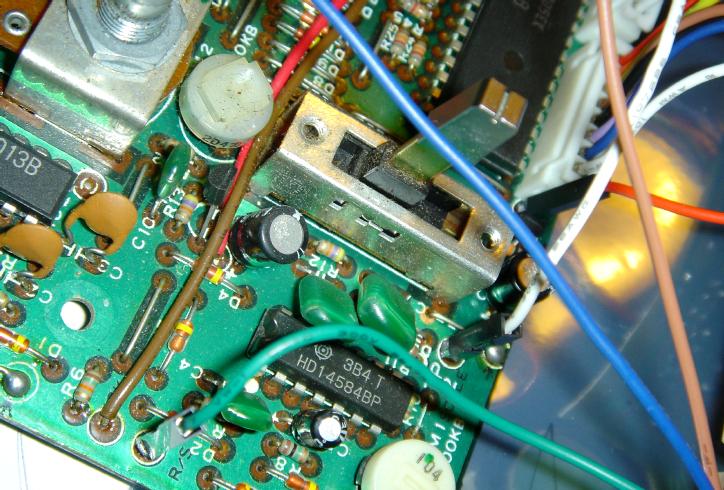
INSTALLED! |
|
This is how it looks like after wiring up! |
|
|
|
|
|
|
|
|
|
|
|
Note: |
![]()
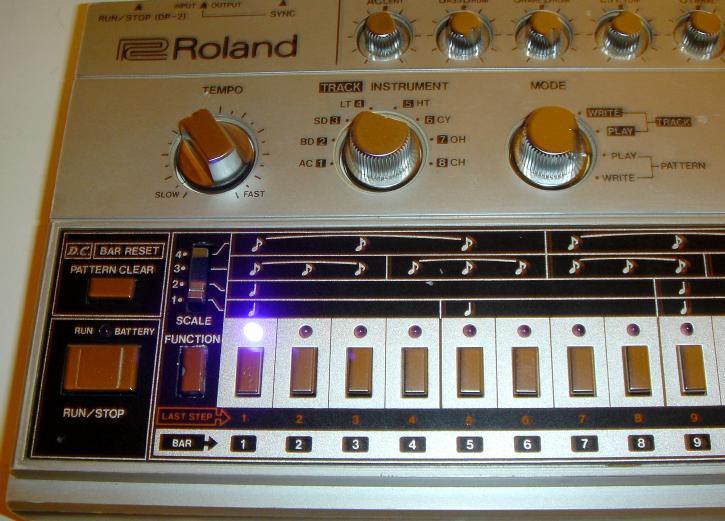
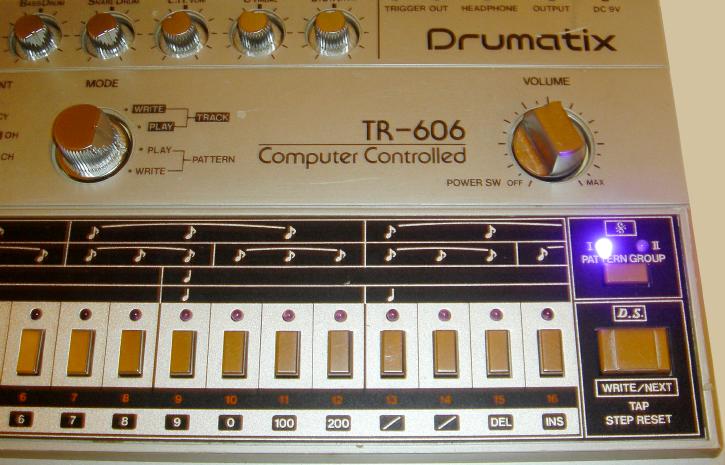
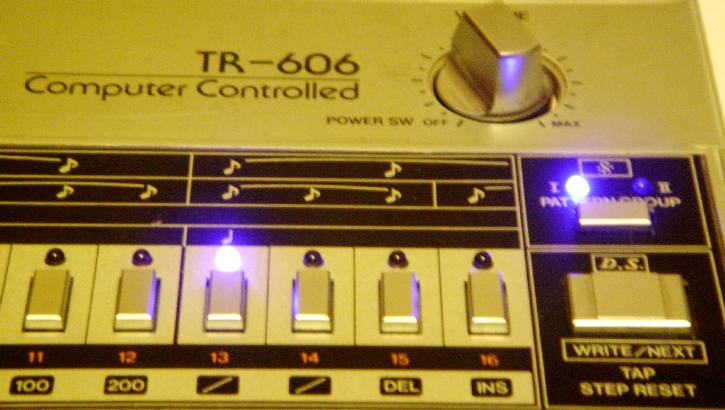
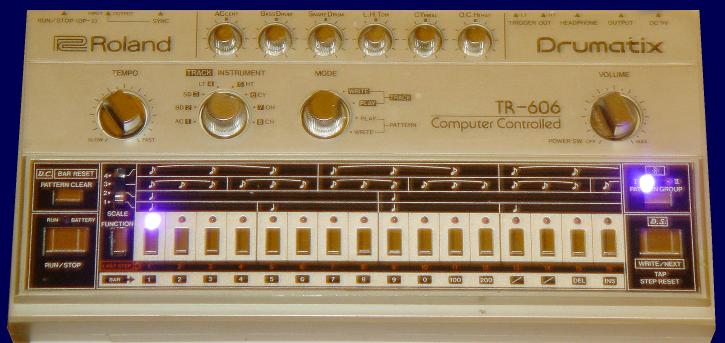
| 606 (#2) with UV LED Switchboard in Action |
| This is how it looks like now, with the switchboard fitted. |
|
|
|
|
|
|
| In these photos, it looks a bit like the LEDs are blue, but they're UV!! |
![]()
My 606 (#2), now with UV LED Switchboard!
![]()
![]()
![]()
![]()
![]()
![]()
![]()
![]()
![]()
![]()
![]()